DRYIT Semi-Continuous Tray Drier
Practical Action
Construction
1) Cut each part from 25 x 25 mild steel angle. The cutaways in the centre beams are for the
rods connected to the lifting fingers.
2) Weld the two back legs (4) and the back top and bottom beams (2, 8) to form a flat,
square rectangle with mitre joints at each corner. Weld the two front legs (4) to the front top
beam to from a square, flat goal post arrangement with two mitre joints.
3) Parts 3, 5 and 7 are butt jointed to the rectangle and goal posts. Butt joints are used fr
flush fitting cladding.
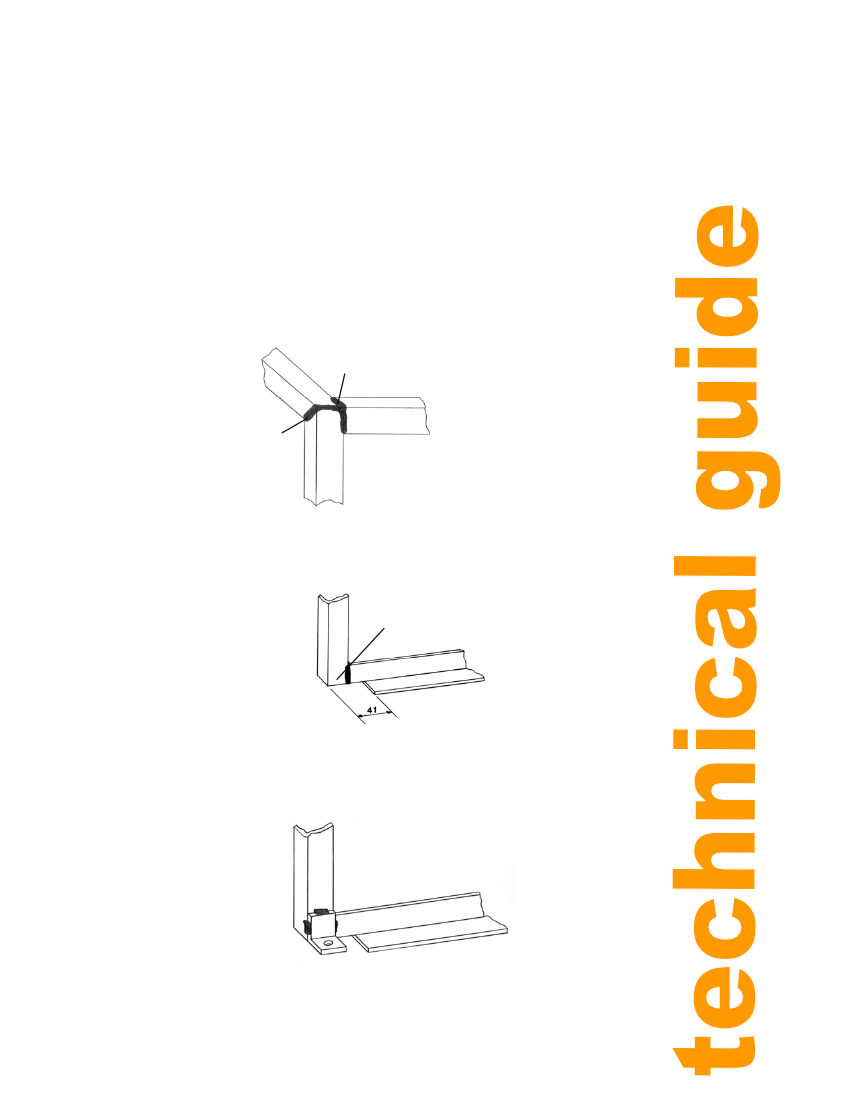
A detail of the mitre and butt joints are shown in figure 7
Butt
Mitre
Figure 7: Mitre and butt joints
4) Weld the lower beams (7) tot the bottom of the legs as shown in figure 8
Butt
Figure 8: lower beam-ends are flush
5) Drill the angle pads then weld them in position, flush with the bottom of legs, as shown in
figure
Figure 9: Angle pads
6) Mark and drill the upper pads then weld to the frame, in the position shown in TD003
11